
If your team has been spending even one minute of time manually entering addresses into your shipping carrier’s clunky interface to get your customers’ shipments out, your mind is about to get blown to smithereens (full disclosure: I had to google the spelling of “smithereens”).
What follows is a practical guide to integrate ShipStation, a shipping platform I’ve used for many years, with your existing e-commerce platform, such as Shopify. I’ll also go over some of the awesome features you can use to improve your customer’s experience as well as your team’s efficiency in getting orders out the door.
Once ShipStation integrates with your e-commerce, it links up with your shipping carrier (Canada Post, USPS, UPS, FedEx Express, FedEx Ground, DHL, Purolator and more), prints the shipping label, provides your e-commerce with the tracking number and e-mails the customer when their order has been shipped and even delivered. Here’s how…
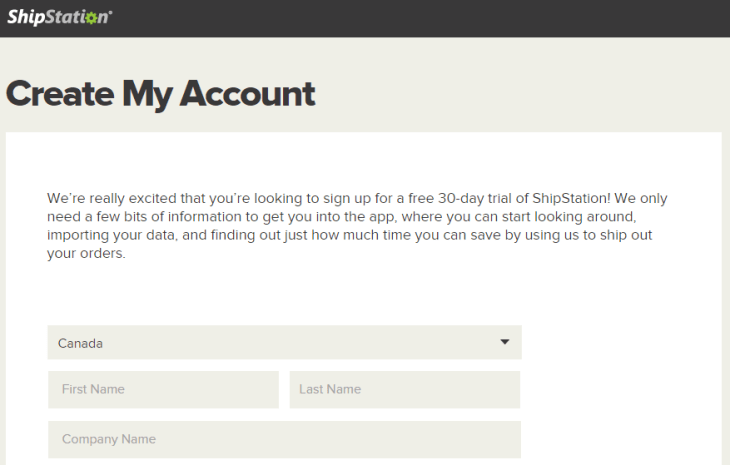
Step 1 – Sign up for ShipStation
ShipStation has a 30-day free trial with no credit card required. After the trial period, plans are very affordable, starting at just USD $9/month for up to 50 shipments/month.
Step 2 – Integrate with your e-commerce
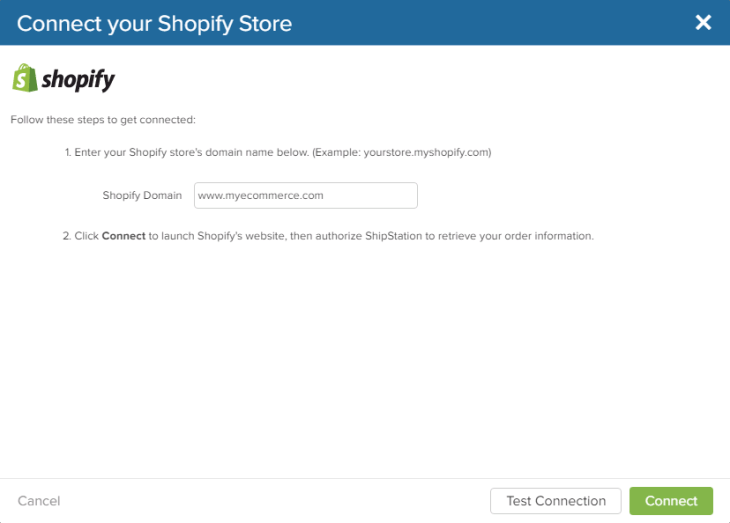
Once in ShipStation, go to the Settings (gear icon at top-right) > Selling Channels > Store Setup. You can choose from tons of e-commerce platforms:

Once you choose your e-commerce platform (eg. Shopify), you’ll be asked some additional information to finalize the integration:
Orders will start coming in as of this instant. Now we need to integrate your shipping carrier.
Step 3 – Link up with your shipping carrier
Once in ShipStation, go to the Settings (gear icon at top-right) > Shipping > Carriers & Fullfillment. You’ll find your shipping carrier here:
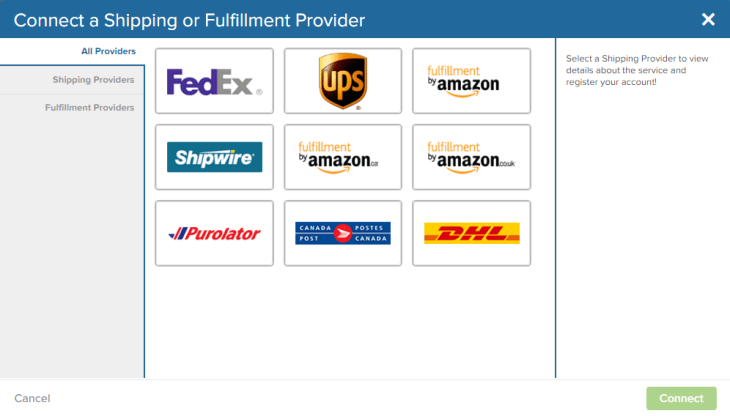
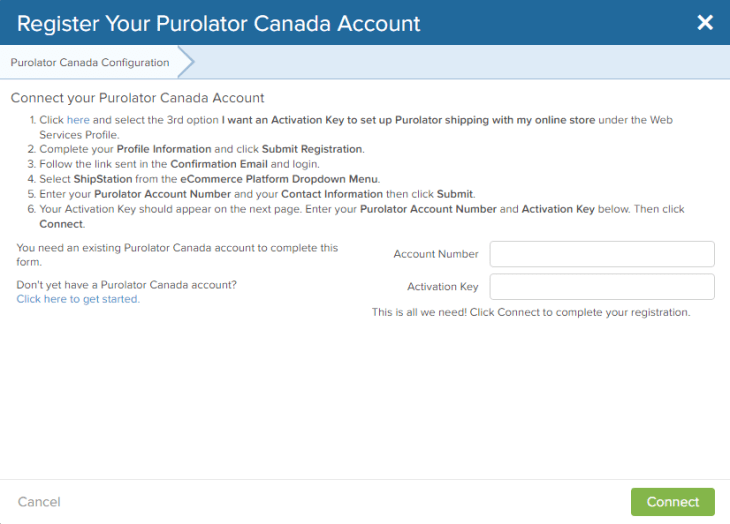
Once you’ve chosen your shipping carrier, we’ll ask you for some additional information:
Step 4 – Add e-mail templates
ShipStation is now importing orders from your e-commerce and informing it when an order has been shipped out. Let’s get the customer in the loop with an e-mail notification when their order has been shipped and delivered.
Once in ShipStation, go to the Settings (gear icon at top-right) > Automation > Automation Rules > Create a Rule and create a rule similar to the one below:

Your customer will now have a better overall experience since they’ll now be automatically informed when their order has been shipped and delivered, with with no data entry whatsoever on your side and less phone calls and e-mails requesting an order status update. How’s that for a great experience?
Step 5 – Personalization
ShipStation allows you to modify the e-mail & packing slip templates, add your company’s logo, specify the language, create shipping presets based on your product weights and dimensions and even have a branded tracking page. These steps are not part of this guide’s scope, but you can find plenty of ressources in ShipStation’s help center, or feel free to contact me.
Step 6 – Get a thermal label printer
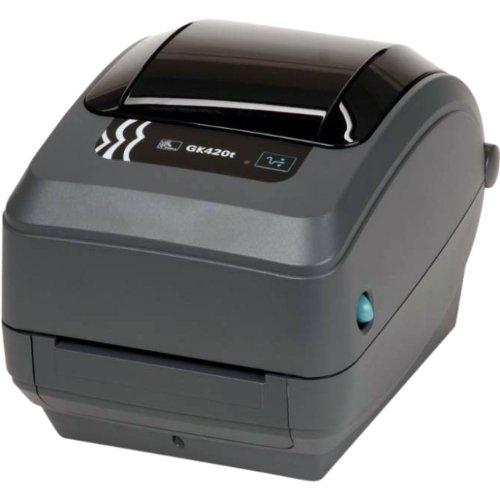
If you’re shipping even 3 packages per day and do not have a thermal label printer, you’ll save a few hours per month by switching to one. No more paper folding, taping or transparent shipping pouches. You’ll be able to quickly print and stick the shipping label to your packages. I switched to the Zebra GK420T years ago and never looked back. Often times, if your shipping volume is big enough, your shipping carrier may provide you with a thermal label printer free of charge.
Thanks for reading, and feel free to comment or write in!
I design and integrate systems using best practices so you can get back to working on your business. Learn more
